Propagating Succulents from Leaf Cuttings
Succulent propagation from leaf cuttings is a method of asexual reproduction that allows new plants to develop from a single leaf. This process is commonly used by hobbyists and horticulturists to expand collections or share plants with others. The technique relies on the ability of many succulent species to regenerate roots and shoots from detached leaves. Understanding the underlying biological mechanisms and the conditions that support this regeneration can help improve success rates and reduce losses.
The method involves removing a healthy leaf, allowing the cut end to callous, and then placing it in an environment that encourages root and bud formation. Factors such as soil composition, light exposure, temperature, and humidity play critical roles in this process. While some species propagate more readily than others, the general principles remain similar across a wide range of succulents. This article outlines the step-by-step process, with attention to soil and light requirements, and highlights common considerations for those attempting leaf propagation.
It is important to note that results can vary based on species, environmental conditions, and the health of the parent plant. Propagation is not a guaranteed process, and individual outcomes depend on multiple variables. The information provided here is intended for educational purposes and does not replace professional horticultural advice. By following a methodical approach, practitioners can create conditions that may support successful propagation while minimizing potential issues.
Selecting and Preparing Leaf Cuttings
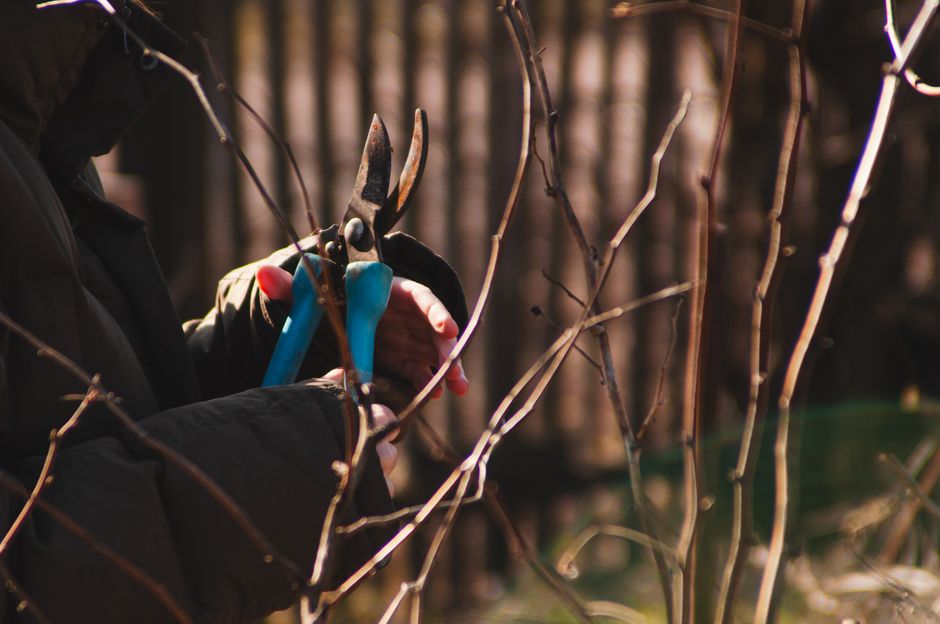
The first step in leaf propagation is selecting suitable leaves from a healthy parent plant. Leaves should be fully mature and free from pests, diseases, or damage. Ideally, choose leaves from the middle or lower portion of the plant, as these tend to be more robust than younger leaves at the growing tip. Using a clean, sharp knife or scissors, gently twist or cut the leaf away from the stem, ensuring that the entire leaf base is removed. A clean detachment is important because torn or broken leaves are more prone to rot and may not develop into new plants.
After removal, the leaf should be placed in a dry, shaded area to allow the wound to callous over. This process typically takes a few days to a week, depending on the ambient humidity and temperature. During callousing, the cut surface dries and forms a protective layer that helps prevent infection when the leaf is placed in soil. Skipping this step can increase the risk of fungal or bacterial growth, which may cause the leaf to decay before roots can form. Once the callous has formed, the leaf is ready for the next stage.
It is worth noting that not all leaves will produce new plants, even under ideal conditions. Some leaves may simply shrivel and die, while others may produce roots but no shoots, or vice versa. This variability is natural and influenced by factors such as species, leaf age, and environmental conditions. Patience and observation are key, as some leaves may take several weeks to show signs of growth.
Soil and Planting Requirements
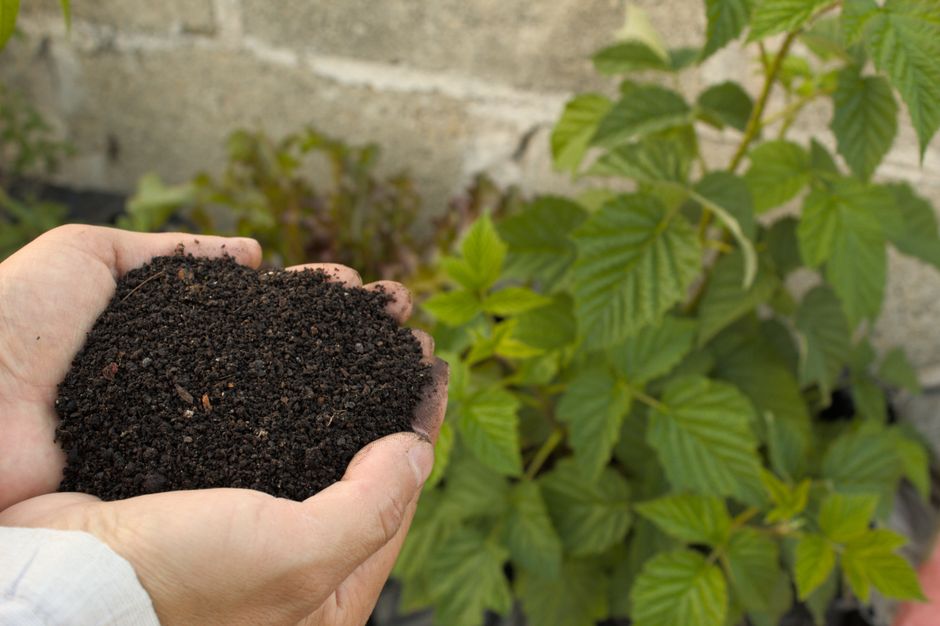
The choice of soil is a critical factor in successful leaf propagation. Succulents require a well-draining mix that allows excess water to escape quickly, preventing the leaf from sitting in moisture. A typical propagation mix might include equal parts of potting soil, coarse sand, and perlite or pumice. This combination provides a balance of moisture retention and drainage, creating an environment where roots can develop without the risk of rot. Avoid using heavy garden soil or mixes that contain a high proportion of clay, as these tend to hold water and can lead to fungal issues.
When planting, simply place the calloused leaf on top of the soil surface, with the cut end slightly embedded or resting on the mix. Do not bury the leaf, as this can cause it to rot. Some practitioners prefer to lay the leaf flat on the soil, while others prop it up at a slight angle. Both methods can work, provided the leaf is in contact with the soil and the cut end is not submerged. Lightly misting the soil surface can help settle the mix, but overwatering should be avoided at this stage.
Containers for propagation should have drainage holes to allow excess water to escape. Shallow trays or pots work well, as they provide ample surface area for multiple leaves. The soil can be pre-moistened slightly before placing the leaves, but it should not be soaking wet. Maintaining a slightly dry environment is generally preferable, as excessive moisture is a common cause of failure in leaf propagation.
Light, Temperature, and Humidity
Light is another essential factor in leaf propagation. Succulent leaves require bright, indirect light to support photosynthesis and root development. Direct sunlight, especially during the hottest part of the day, can scorch the leaves and cause them to dry out prematurely. A location near a south- or east-facing window that receives filtered light is often suitable. Alternatively, grow lights can be used to provide consistent illumination, particularly in regions with limited natural light.
Temperature and humidity also influence the propagation process. Most succulents prefer temperatures between 65°F and 75°F (18°C to 24°C). Extreme temperatures, whether too hot or too cold, can slow down or halt development. Humidity should be moderate; high humidity can promote rot, while very low humidity may cause the leaves to shrivel before roots form. In dry climates, placing a tray of water near the propagation area can help raise humidity slightly, but care should be taken to avoid creating a damp environment around the leaves.
It is also important to avoid disturbing the leaves once they are placed. Frequent checking or moving can disrupt the delicate root hairs that are beginning to form. Once roots and small plantlets appear, the new plants can be gradually introduced to more direct light and regular watering. However, this transition should be done slowly to avoid shock.
Aftercare and Transplanting
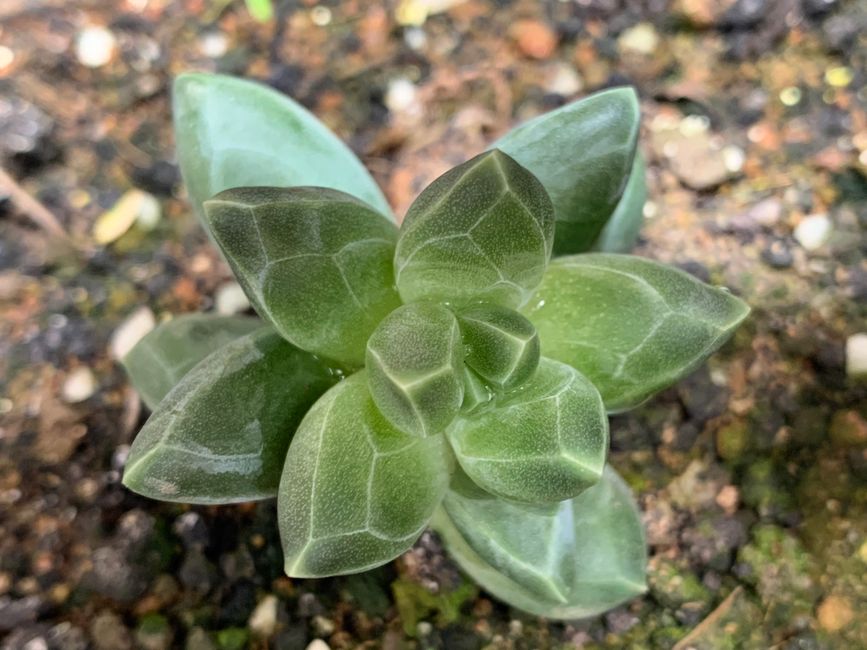
After several weeks, small roots and eventually tiny leaves (plantlets) will begin to emerge from the leaf. At this stage, the original leaf may start to wither as it provides nutrients to the new plant. This is a normal part of the process. The new plantlet should be allowed to grow until it is large enough to handle, typically when it has formed a small rosette and a developed root system. At that point, it can be carefully separated from the mother leaf and transplanted into its own pot.
Transplanting should be done into a well-draining succulent mix, similar to the propagation mix. Water the new plant thoroughly but infrequently, allowing the soil to dry out between waterings. Place the pot in bright, indirect light and gradually acclimate it to more direct sun if desired. Fertilization is generally not necessary during the early stages, as the plant is still establishing itself. Overfertilizing can damage the delicate roots.
Monitoring for pests and diseases is important throughout the propagation and aftercare phases. Common issues include mealybugs, aphids, and fungal infections. Early detection and appropriate treatment can help prevent the loss of new plants. With proper care, the propagated succulents can develop into healthy, independent plants over time.
Common Challenges and Considerations
Leaf propagation is not without challenges. Rot is perhaps the most common problem, often caused by excess moisture or insufficient callousing. Ensuring that the leaf is fully calloused and that the soil is well-draining can reduce this risk. Another issue is failure to produce roots or shoots, which may be due to species-specific limitations or environmental factors. Some succulents, such as Echeveria and Sedum, are known for easy leaf propagation, while others may require different methods like stem cuttings or offsets.
It is also important to manage expectations. Not every leaf will successfully propagate, and even under optimal conditions, success rates can vary. Keeping records of which species and conditions work best can help refine the process over time. Additionally, sterility of tools and containers can help prevent the introduction of pathogens. Cleaning tools with alcohol before use is a simple precaution.
Finally, patience is essential. Leaf propagation can take weeks or even months, depending on the species and conditions. Rushing the process by overwatering or exposing to direct sun can lead to failure. By providing consistent care and monitoring, growers can increase the likelihood of success and enjoy the rewarding experience of creating new plants from single leaves.